Thanks, readers, for referring to this Lekala pattern:
![]()
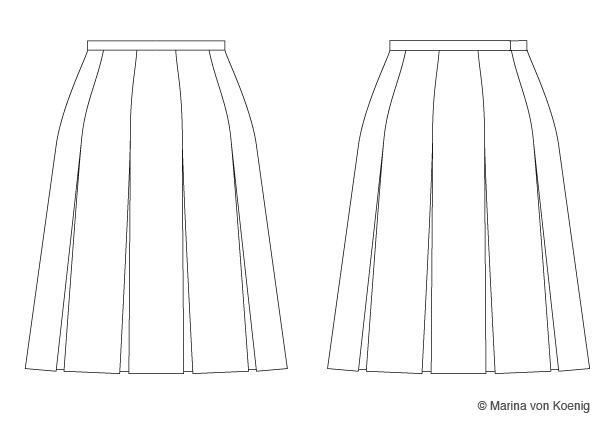
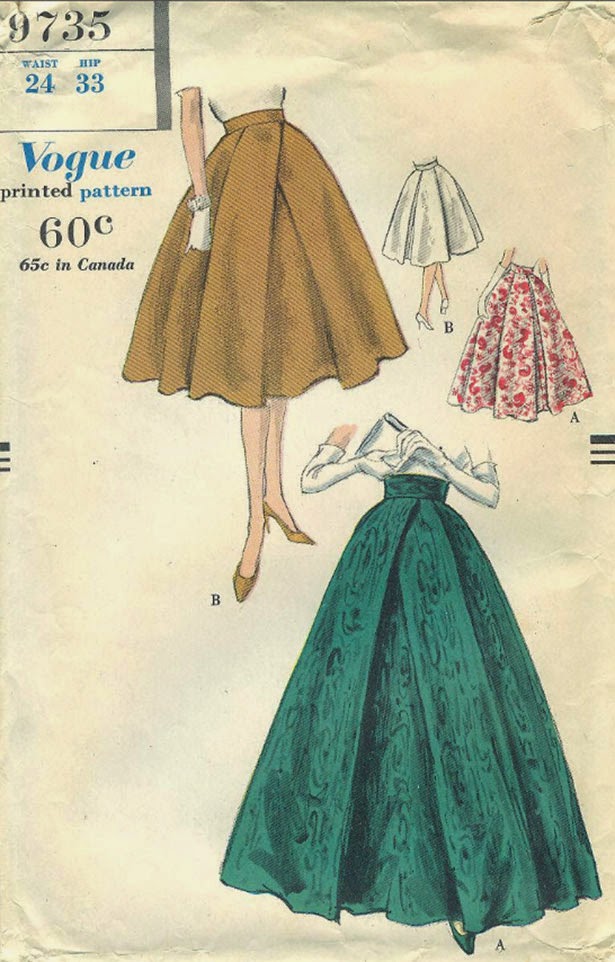
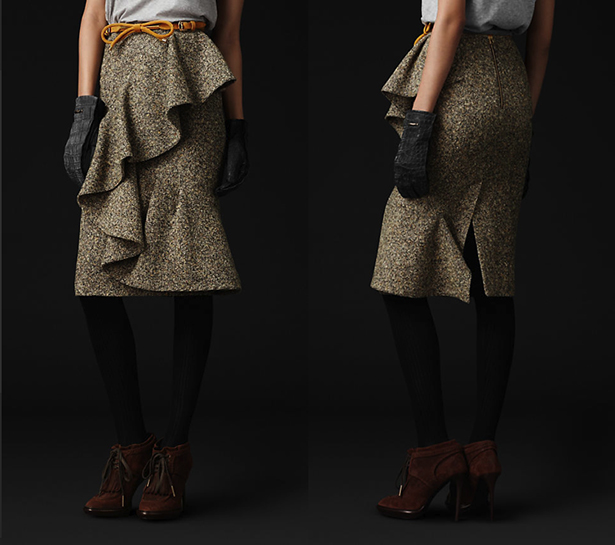
![]() As you see this skirt is very (very) similar to our Burberry inspiration skirt.
As you see this skirt is very (very) similar to our Burberry inspiration skirt.
![]()
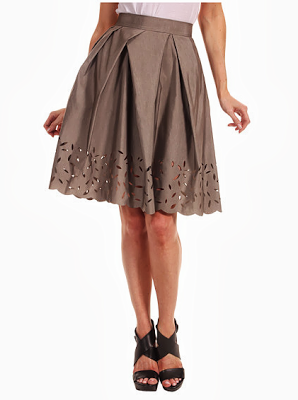
While I have never used Lekala patterns before, I must say it looks very promising and, if it is as good as it looks, we can use it in our sew-along. Our drafting plan will remain unchanged though, we will draft the skirt as planned - it is a great exercise in patternmaking.
The site claims it is a custom fit. With 4 (or 5) personalized measurements that you enter at check out, it probably comes closer to the real you than the Big 4. It should work well with a skirt, but I believe that the more complex the garment the less fit you get - it just doesn't take into consideration all the specifics of your figure. What these patterns do, obviously, is accomodate your height, your waist and your hips, but the remaining measurements that are plugged into system are taken from a 'standard' model. So the claim is somewhat high, but it is not that important for a skirt, which doesn't have as many variables as a jacket, for example.
I read those comments on sewing forums about spam, dangerous files, etc... Personally, I don't think the site is hijacked by some dangerous hackers targeting international home-sewing community. I bought the pattern using Paypal, downloaded the pattern and instructions, and my inbox is so far free from Russian spam. If you don't hear from me tomorrow, or the blog suddenly disappears - you will know who is behind it. Otherwise, Lekala seems to be a normal (Russia-based, I believe) business that tries to sell personalized computer-generated patterns for a very affordable price.
If you worked with downloadable patterns before, this is no different. One annoying thing, though, is that the page layout is not very economical. My order was for a A4 paper format and I got a 38-page download, with 10 empty pages in between (they do print with a page identifier, though). I will go on and delete those empty pages in Adobe Acrobat, but not everyone knows how to do it.
As for delivery, the PDF containing the pattern was in my inbox in less than an hour. Since I have ordered as a guest, without registering, I had to download the instructions (a separate PDF) from the Lekala site directly. The instructions are very brief, and the translation from Russian is not very good, but you can definitely follow them. It is rather a list of steps, not a detailed description of the process - not very useful for a beginner.
I will try to make a muslin this weekend and report to you next week. If you are very keen to start on it on your own, here is the link. The pattern costs an amazing $2.49, and if you register you will get further 10% off. No advertising, really, just facts.
Have you had any experience using Lekala patterns? Would you use this particular pattern for our sew-along? If not, why?

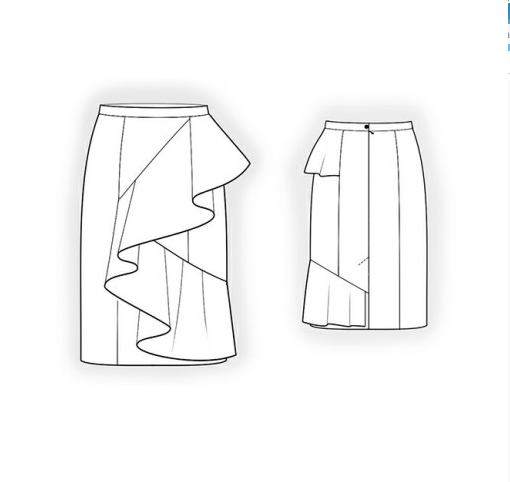
While I have never used Lekala patterns before, I must say it looks very promising and, if it is as good as it looks, we can use it in our sew-along. Our drafting plan will remain unchanged though, we will draft the skirt as planned - it is a great exercise in patternmaking.
CUSTOM FIT?
The site claims it is a custom fit. With 4 (or 5) personalized measurements that you enter at check out, it probably comes closer to the real you than the Big 4. It should work well with a skirt, but I believe that the more complex the garment the less fit you get - it just doesn't take into consideration all the specifics of your figure. What these patterns do, obviously, is accomodate your height, your waist and your hips, but the remaining measurements that are plugged into system are taken from a 'standard' model. So the claim is somewhat high, but it is not that important for a skirt, which doesn't have as many variables as a jacket, for example.
NO RUSSIAN SPAM
I read those comments on sewing forums about spam, dangerous files, etc... Personally, I don't think the site is hijacked by some dangerous hackers targeting international home-sewing community. I bought the pattern using Paypal, downloaded the pattern and instructions, and my inbox is so far free from Russian spam. If you don't hear from me tomorrow, or the blog suddenly disappears - you will know who is behind it. Otherwise, Lekala seems to be a normal (Russia-based, I believe) business that tries to sell personalized computer-generated patterns for a very affordable price.
ORDERING & DOWNLOAD
If you worked with downloadable patterns before, this is no different. One annoying thing, though, is that the page layout is not very economical. My order was for a A4 paper format and I got a 38-page download, with 10 empty pages in between (they do print with a page identifier, though). I will go on and delete those empty pages in Adobe Acrobat, but not everyone knows how to do it.
As for delivery, the PDF containing the pattern was in my inbox in less than an hour. Since I have ordered as a guest, without registering, I had to download the instructions (a separate PDF) from the Lekala site directly. The instructions are very brief, and the translation from Russian is not very good, but you can definitely follow them. It is rather a list of steps, not a detailed description of the process - not very useful for a beginner.
WHAT HAPPENS NEXT
I will try to make a muslin this weekend and report to you next week. If you are very keen to start on it on your own, here is the link. The pattern costs an amazing $2.49, and if you register you will get further 10% off. No advertising, really, just facts.
Have you had any experience using Lekala patterns? Would you use this particular pattern for our sew-along? If not, why?